
DIY Water Heater Repair Guide provides a comprehensive resource for individuals looking to troubleshoot and fix common issues with their water heaters. From understanding the basics of water heaters to addressing leakage problems, sediment build-up, and heating element malfunctions, this guide offers step-by-step tutorials and preventive maintenance tips. It also includes a frequently asked questions section to address common concerns about water heater repair. By following this guide, homeowners can save money by performing their own repairs and ensure the longevity of their water heaters.
Introduction to Water Heater Repair
In this section, you will learn about the fundamentals of water heater repair and gain an understanding of the various issues that can arise with these appliances.
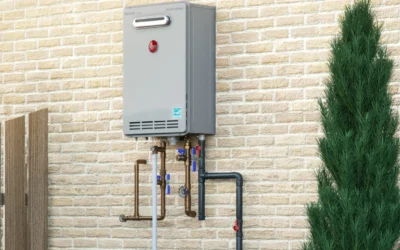
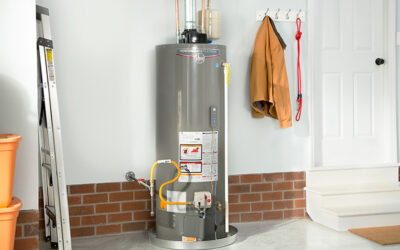
Understanding the Basics of Water Heaters
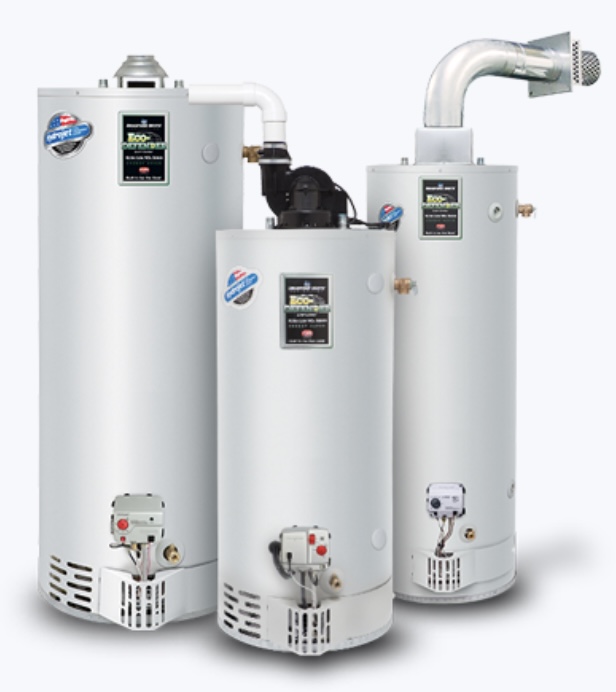
Understanding the basics of water heaters is essential for anyone looking to perform DIY repairs. Water heaters are a vital component of any household, providing hot water for various purposes. To grasp the fundamentals, it’s important to know how water heaters work, their different types, and their key components. This knowledge will enable homeowners to identify and troubleshoot issues effectively, ensuring the proper functioning of their water heaters.
Common Water Heater Problems
Common water heater problems can range from leakage issues to sediment build-up and heating element malfunctions.
Identifying Leakage Issues
When it comes to water heater repair, one common problem that homeowners may encounter is leakage. Identifying leakage issues is crucial in order to address the problem effectively. There are several signs that can indicate a leakage problem, such as pooling water around the base of the water heater, dampness or water stains on the floor or walls near the water heater, or a decrease in hot water supply. If you notice any of these signs, it is important to take immediate action to prevent further damage and potential hazards.
Dealing with Sediment Build-up
To effectively address sediment build-up in your water heater, follow these steps:
– Start by turning off the power supply to the water heater. This is crucial for your safety.
– Next, locate the drain valve at the bottom of the heater. Attach a garden hose to the valve and place the other end in a suitable drainage area or bucket.
– Open the drain valve and allow the water to flow out. This will flush out any sediment that has settled at the bottom.
– Once the water runs clear, close the drain valve and remove the hose.
– Turn on the water supply to refill the tank. Make sure to open a hot water faucet in your home to release any air trapped in the system.
– Finally, turn the power back on and allow the water heater to heat up again.
By regularly addressing sediment build-up, you can ensure the efficient operation and longevity of your water heater.
Addressing Heating Element Malfunctions
To address heating element malfunctions in your water heater, there are several steps you can follow. First, ensure you have turned off the power supply to the water heater. This will prevent any accidents or electrical shocks while working on the heating elements. Next, locate and remove the access panel on the water heater to gain access to the heating elements. Use a multimeter to test the continuity of the heating elements. If they do not show continuity, it indicates a malfunction and they need to be replaced. Carefully disconnect the wiring connected to the faulty heating element and remove it from the water heater. Install the new heating element by connecting the wiring and securely fastening it in place. Finally, replace the access panel and restore power to the water heater to check if the heating element is functioning properly.
Tools and Materials Needed for Repair
In order to successfully repair a water heater, it is essential to have the necessary tools and materials on hand.
Essential Tools for Water Heater Repair
When it comes to repairing your water heater, having the right tools is essential. Here are some essential tools that you will need for water heater repair:
- Adjustable wrench
- Screwdriver set
- Socket set
- Plumber’s tape
- Teflon tape
- Wire brush
- Multimeter
- Pipe cutter
- Pipe wrench
These tools will help you in various repair tasks such as replacing faulty heating elements, fixing leaks, and replacing valves. It’s important to have them on hand to ensure a smooth and successful repair process.
Recommended Materials for DIY Repairs
When it comes to DIY water heater repairs, having the right materials is essential. Here are some recommended materials that can help you successfully repair your water heater:
- Adjustable wrench
- Screwdriver set
- Pipe wrench
- Teflon tape
- Multimeter
- Wire brush
- Plumber’s tape
- Replacement heating elements
- Valve replacement kit
- Anode rod
These materials will enable you to address common water heater problems, such as leaks, sediment build-up, and heating element malfunctions. It’s always a good idea to have these tools on hand before attempting any repairs to ensure a smooth and successful process.
Step-by-Step Water Heater Repair Tutorial
This section provides a detailed tutorial on how to repair a water heater, covering steps such as shutting off power and water supply, draining the water heater, replacing faulty heating elements, and fixing leaks and replacing valves.
Shutting Off the Power and Water Supply
To safely repair a water heater, the first step is shutting off the power and water supply. This is crucial to avoid any accidents or electrical shocks during the repair process. Start by locating the circuit breaker that controls the power to the water heater and switch it off. If your water heater has a dedicated power switch, turn it off as well. Next, find the shut-off valve for the water supply line connected to the heater and close it to stop the flow of water. By taking these precautions, you can proceed with the repair work without any risks or complications.
Draining the Water Heater
Draining the water heater is an essential step in the repair process. By removing the water from the tank, you can access the internal components more easily and safely. To drain the water heater, follow these steps:
- Turn off the power supply to the water heater. This can typically be done by switching off the circuit breaker dedicated to the water heater.
- Locate the drain valve at the bottom of the tank. Attach a garden hose to the valve and place the other end in a suitable drainage area, such as a floor drain or outside.
- Open a hot water faucet in your home to allow air into the system and assist with the draining process.
- Slowly open the drain valve to release the water from the tank. Be cautious as the water may be hot.
- Once the water has fully drained, close the drain valve and remove the hose.
Draining the water heater helps prevent potential accidents and makes it easier to perform repairs or maintenance tasks such as replacing heating elements or addressing sediment build-up.
Replacing Faulty Heating Elements
To replace faulty heating elements in your water heater, follow these steps:
- Turn off the power supply to the water heater by flipping the corresponding circuit breaker.
- Close the water supply valve to prevent any additional water from entering the tank.
- Drain the water heater by attaching a hose to the drain valve and opening it. Make sure to direct the hose to a suitable drainage area.
- Once the tank is completely drained, disconnect the electrical wiring connected to the heating element.
- Using a suitable wrench, unscrew the faulty heating element from the tank. Be careful not to damage the surrounding components.
- Install the new heating element by screwing it firmly into place.
- Reconnect the electrical wiring to the new heating element.
- Open the water supply valve to allow water to fill the tank again.
- Check for any leaks around the newly installed heating element.
- Finally, turn on the power supply to the water heater by flipping the circuit breaker back on.
By following these steps, you can effectively replace faulty heating elements in your water heater and restore its proper functionality. Remember to exercise caution and consult a professional if you are unsure or uncomfortable with performing these repairs yourself.
Fixing Leaks and Replacing Valves
When it comes to fixing leaks and replacing valves in your water heater, there are a few key steps to follow. First, identify the source of the leak by inspecting the connections and valves. Once the source is identified, turn off the power and water supply to the water heater. Use a wrench or pliers to loosen and remove the faulty valve. Replace it with a new valve, ensuring a tight and secure connection. Finally, turn on the water supply and power, and check for any leaks. If the problem persists, it may be necessary to seek professional assistance.
Preventive Maintenance Tips for Water Heaters
Learn how to keep your water heater in top shape with these preventive maintenance tips.
Regularly Flushing Sediment from the Tank
Regularly flushing sediment from the tank is an important maintenance task for your water heater. Over time, sediment can build up at the bottom of the tank, reducing its efficiency and potentially causing damage. Flushing the tank involves draining the water and removing any accumulated sediment. This process helps to prolong the lifespan of your water heater and ensures it continues to operate effectively. By regularly flushing sediment from the tank, you can prevent clogs, improve energy efficiency, and maintain the overall performance of your water heater.
Checking and Replacing Anode Rods
Checking and replacing anode rods is an essential part of water heater maintenance. Anode rods are sacrificial rods made of aluminum or magnesium that are designed to attract corrosive elements in the water, preventing them from attacking the tank and extending the lifespan of the heater. Over time, anode rods can become depleted and need to be replaced. To check the condition of the anode rod, you will need to locate it on top of the water heater. Use a wrench to loosen and remove the hex head of the anode rod. If the rod is heavily corroded or less than half an inch thick, it is time for a replacement. To replace the anode rod, simply install a new one in the same location and tighten it securely. Regularly checking and replacing anode rods will help protect your water heater and ensure its longevity.
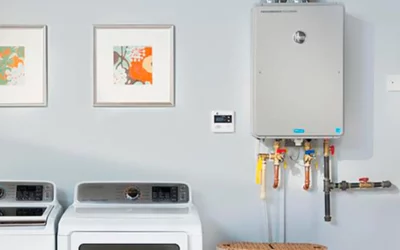
Insulating Pipes and Tank
Insulating pipes and the tank of your water heater is an important step in preventing heat loss and improving energy efficiency. By adding insulation, you can reduce the amount of heat that escapes from the pipes and the tank, helping to maintain the desired water temperature for longer periods of time. This can result in lower energy bills and a more consistent supply of hot water. To insulate the pipes, you can use foam pipe insulation sleeves that easily slip over the pipes. For the tank, you can use a water heater blanket or insulation jacket specifically designed for this purpose. These blankets or jackets wrap around the tank and provide an extra layer of insulation to keep the water hot. By insulating both the pipes and the tank, you can maximize the efficiency of your water heater and ensure that it operates at its best.
FAQ – Water Heater Repair
In the FAQ section, you will find answers to common questions about water heater repair, including how often to flush the water heater, whether you can repair a leak yourself, signs of a failing heating element, the typical lifespan of a water heater, and the safety of replacing a water heater’s thermostat.
How often should I flush my water heater?
Flushing your water heater regularly is important to maintain its efficiency and prolong its lifespan.
Can I repair a water heater leak myself?
Repairing a water heater leak yourself can be a feasible option depending on the severity of the leak and your level of expertise, but it is recommended to consult a professional for complex or major leaks to ensure safety and proper repair.
What are the signs of a failing heating element?
A failing heating element in a water heater may exhibit signs such as insufficient hot water, inconsistent water temperature, or a complete lack of hot water.
How long does a water heater typically last?
A water heater typically lasts around 8 to 12 years, depending on factors such as usage, maintenance, and the quality of the unit.